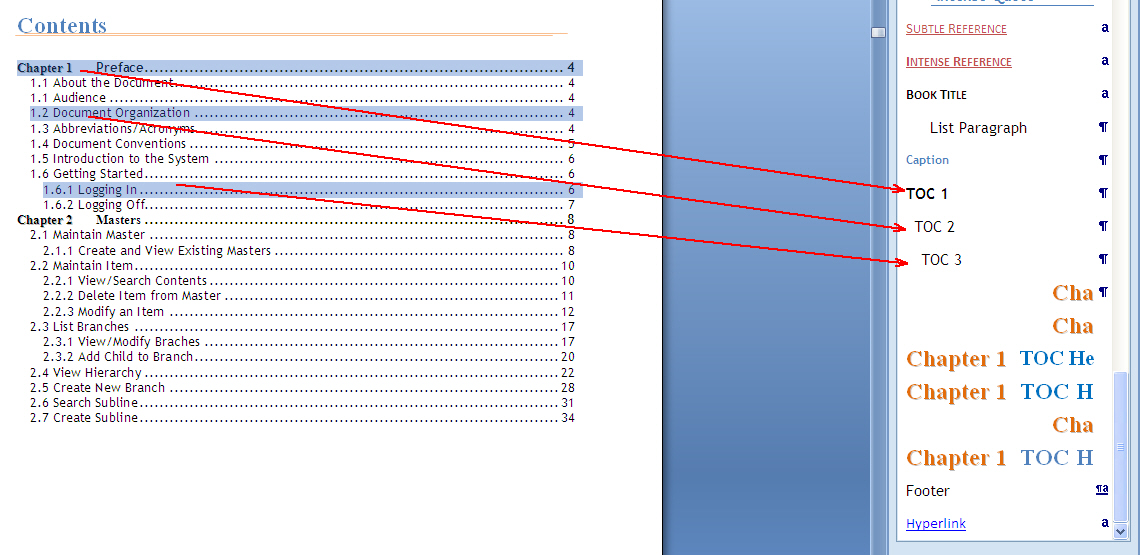
Updating Table of Contents
After creating a Table of Contents if you had made changes to the document and wish to update the Table of Contents accordingly, do the following:
- Right-click on the Table of Contents
- From the right-click menu, click Update Field. Update Table of Contents dialog box appears.
- Select the option Update Entire Table
- Click OK.
See below image:

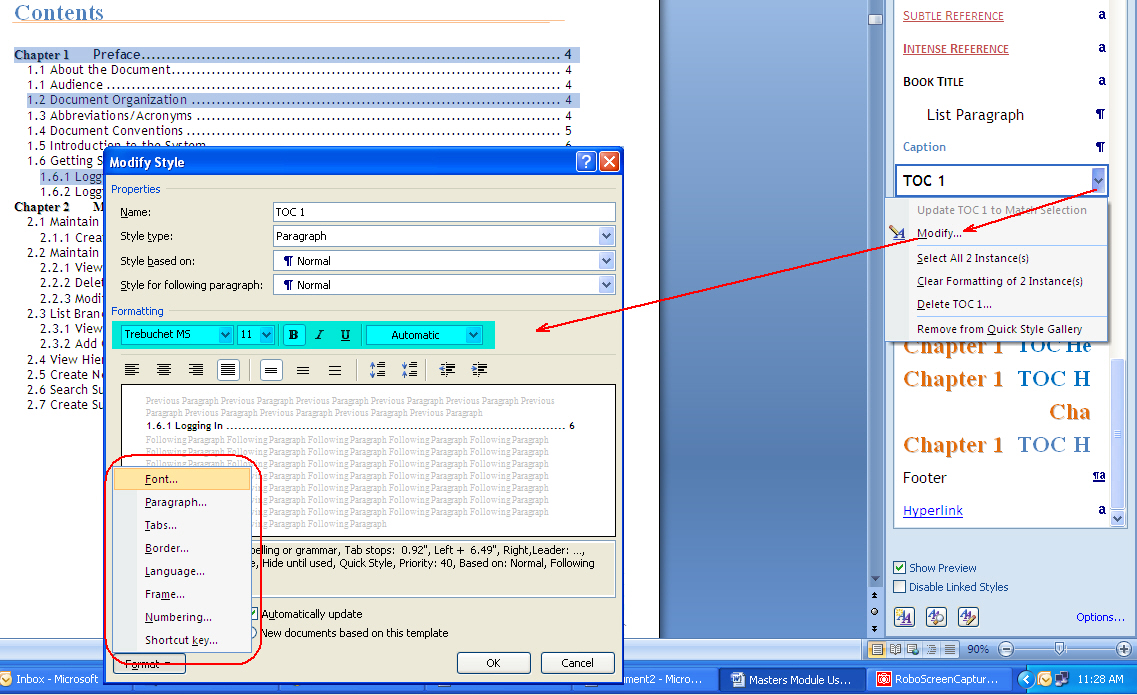
Formatting Table of Contents
You can modify the appearance of a Table of Contents by formatting the text in the table of contents.
- View the default styles for each heading level in the Styles gallery. To open the Styles gallery widget, click Alt+O+S. See below image:
- Click the down arrow button next to a style in the gallery, click Modify. Modify Style dialog box appears.
- In the Modify Style dialog box, you can modify properties such as font, paragraph, tabs, border, for each heading level in the Table of Contents.
See below image: